
Reviewed · ULUWATU TEMPLE & KECAK FIRE DANCE
Bali: Silver Jewelry Making Class in Kuta or Uluwatu
Silver jewelry in Bali is one of those rare souvenirs that feels personal, not packaged. In this 3-hour class, you actually make the piece: pick a design, melt silver, shape it, solder it, then finish with sanding and polish. You’ll leave with jewelry you can wear, not just photos.
I like the hands-on step-by-step teaching, because you’re guided through real silversmith work instead of watching someone else do it. I also like the choice and control: you can select from lots of patterns, and you can even bring your own design idea if it’s practical for the time limit.
One thing to plan for: there are extra charges if you go beyond the included silver weight (and there can be add-ons for stones or making additional designs). If you’re budget-tight, have a clear idea of what you want before you start.
In This Review
- Key things I’d pay attention to
- Two Bali Workshops: Kuta Beach vs Uluwatu Culture-Sunset Side
- What Your $41 Buys: Included Silver, Tools, and Take-Home Jewelry
- The 3-Hour Rhythm: Design Pick to Polished Finish
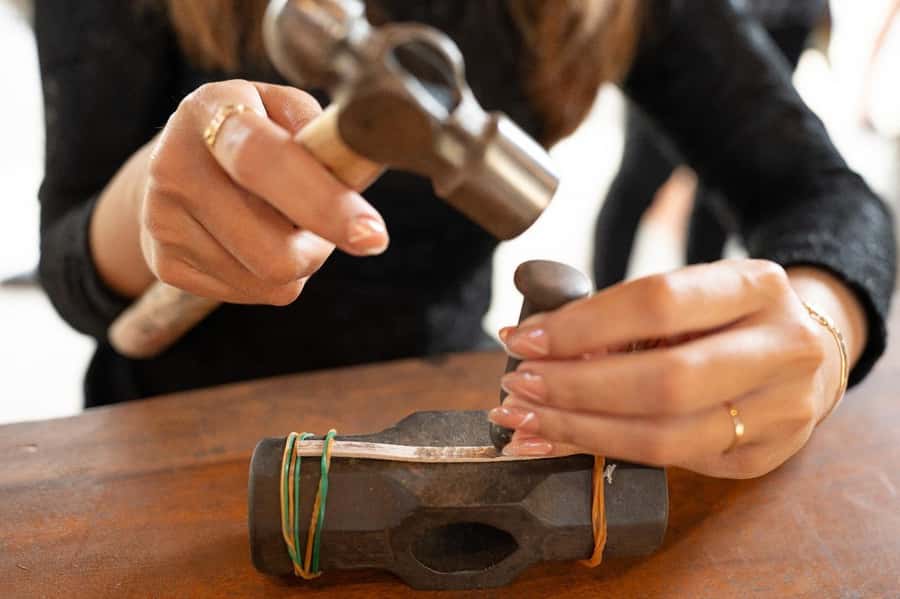
- The Fun Part You Actually Do: Melting, Hammering, Rolling, Shaping
- From Parts to Piece: Soldering, Sanding, and Polishing
- Design Control Without Design Chaos: One Piece, Smart Choices
- Who This Class Fits Best (and Age Limits to Know)
- Tips That Make Your Jewelry Look Better (and Keep Costs Under Control)
- Should You Book in Kuta or Uluwatu? My Simple Decision Rule
- Should You Book This Bali Silver Jewelry Class?
- FAQ
- How long is the Bali silver jewelry making class?
- Where are the workshop locations in Bali?
- Do I need any prior experience to join?
- What silver and amount are included?
- What extra costs should I know about?
- Can I bring my own design?
- Are snacks and water included?
- Is Wi-Fi included?
- What languages are the instructors able to use?
- Can I cancel and get a full refund?
Key things I’d pay attention to
- Two workshop zones: Kuta for easy beach access, Uluwatu for the Garuda Wisnu Kencana and sunset-side vibe.
- You do the metalwork: melting, hammering, rolling, shaping, soldering, sanding, and polishing.
- Included silver is limited: extra grams cost extra, so design choices matter.
- Bring-your-own design is possible: but you’ll need silversmith approval for feasibility.
- Design rules are strict: one jewelry design per person unless you pay an extra design fee.
- Guides with real patience: names like Made and Kusuma show up in standout feedback for being helpful and calm.
Two Bali Workshops: Kuta Beach vs Uluwatu Culture-Sunset Side
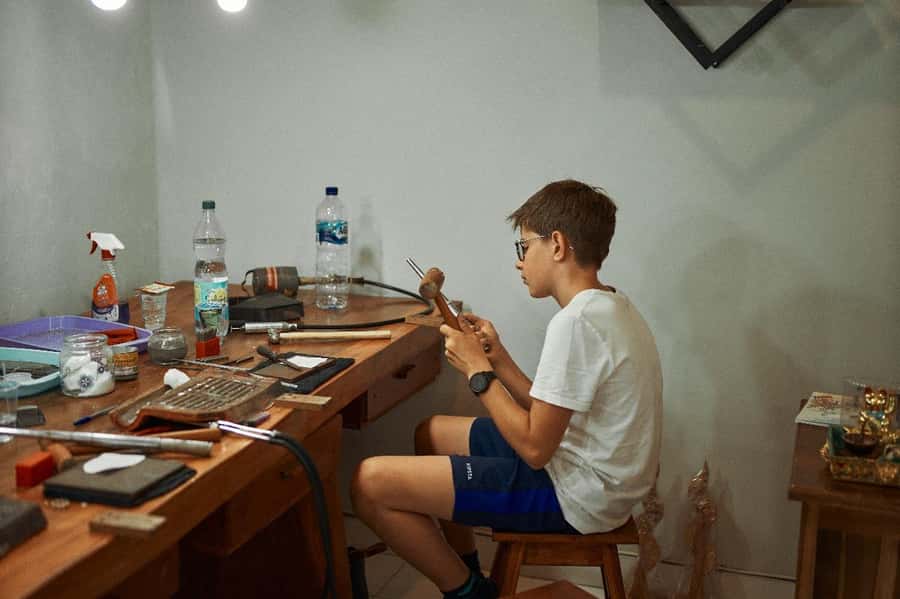
This class runs in two different Bali locations, so you can match it to your day.
In Uluwatu, the workshop is near Garuda Wisnu Kencana Culture Park and the Kecak Dance area. It’s also a short hop from beaches like Pandawa and Melasti. If you’re basing yourself in the southern cliffs and planning a sunset circuit, Uluwatu can slot in nicely. You’ll still get the full 3-hour craft session without feeling like you’re stuck in traffic for hours.
In Kuta, you’re closer to Kuta Beach and the Beachwalk Shopping Center. If your Bali trip is more about convenience—walkable areas, easy dining, and quick beach time—Kuta makes the class feel simple to fit around your other plans.
The practical takeaway: pick the workshop that reduces your travel time. When you’re spending 3 hours around tools and heat (melting and hammering happen), you don’t want to also burn your energy on a long ride.
More clifftop Kecak nights and Uluwatu temple visits reviewed

What Your $41 Buys: Included Silver, Tools, and Take-Home Jewelry
This is priced at $41 per person for a 3-hour class, and the value mainly comes from the fact that you leave with a finished piece you made yourself.
Here’s what’s included:
- Indonesian silver in the 2 to 5 gram range (the class also notes that if your final jewelry is under 5 grams, it is still accounted for as 5 grams)
- instruction from silversmiths (English, Indonesian, Malay)
- all tools and materials needed for the steps
- snacks and mineral water
- complimentary Wi‑Fi
Two value points I really like for first-timers:
- You’re not paying extra just to get started. The workshop handles the workflow, including the tools you don’t have at home.
- The result is wearable immediately after polishing. That’s the whole point: the souvenir is the process and the finished metal.
What to watch so the bill doesn’t surprise you:
- More than 5 grams costs extra: there’s an additional fee of 100,000 IDR per gram beyond 5 grams.
- Stones or gems cost extra (the class lists an additional charge for adding gems or stones).
- Only one design is included. If you want more than one design, there’s an extra 300k IDR per extra design.
If you want “minimal drama,” choose a design that fits the typical range and accept that the clock is part of the craft. The best-looking pieces usually come from planning, not from rushing.
The 3-Hour Rhythm: Design Pick to Polished Finish
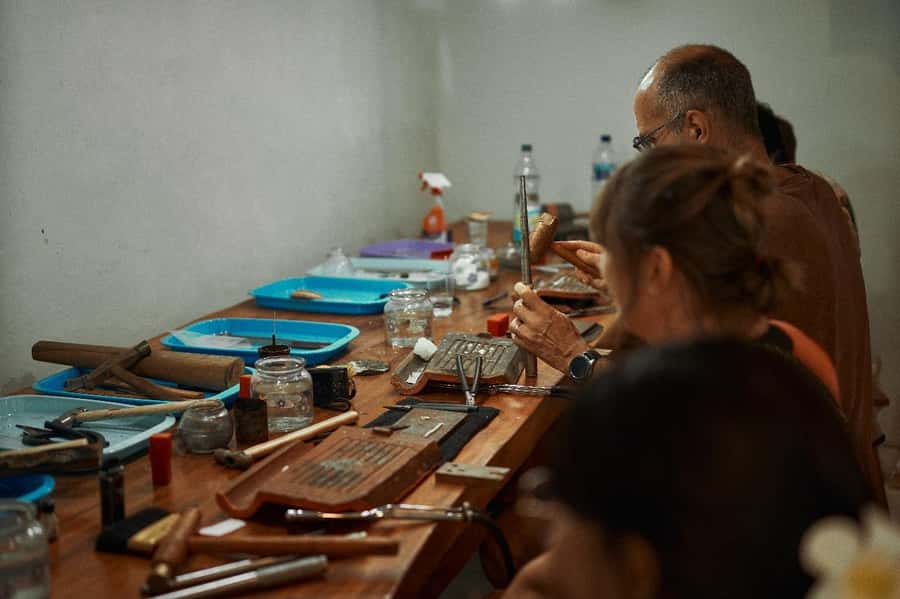
Even though the class includes 9 steps, the feel of it is straightforward: you make choices early, then you repeat small actions until the jewelry appears piece-by-piece.
The flow goes like this:
- Design selection
- Material introduction (pure silver or 925 sterling silver)
- Melting
- Hammering
- Rolling
- Shaping
- Soldering
- Sanding
- Polishing
- Ready to wear
That sequence matters because it teaches how silversmithing works in the real world: metal changes form, then gets joined, then gets smoothed and finished. You’re not just doing one “fun” step. You experience the logic.
Also, the class is designed so your chosen design is executable within the workshop time. If you come in with a highly complex sketch, you might find the silversmiths steer you toward a simpler version that still looks like your idea.
More make-your-own silver jewelry sessions near Kuta
- Bali: Uluwatu Silver Jewelry Making Workshop with Creation★ 4.9 · 260 reviews
- Uluwatu : Make Your Own Silver Jewelry Class★ 4.8 · 71 reviews
- Uluwatu: Krisna Silver Class & Workshop★ 4.6 · 48 reviews
The Fun Part You Actually Do: Melting, Hammering, Rolling, Shaping
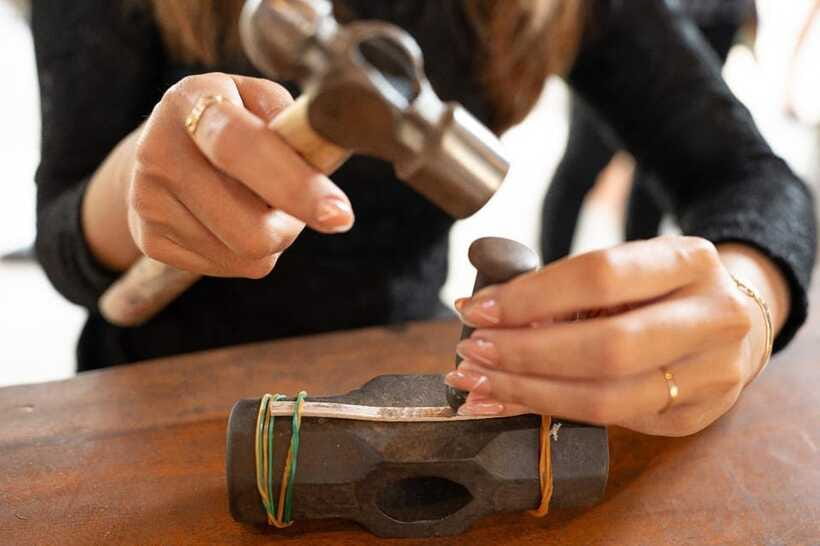
This class feels most memorable during the metal-shaping stages. Those are also the steps where first-timers usually say the same thing: it’s more satisfying than they expected.
You start with your design choice. The workshop provides patterns as references, but you can also bring a design concept. Just be ready to talk feasibility with the silversmiths, because the time limit shapes what’s realistic.
After that, you’ll be introduced to the metal: pure Indonesian silver or 925 sterling silver. Then comes the first real “silversmith moment”:
- Melting: silver is melted using a special burner, poured into a mold to form a bar, and then turned into workable material.
- Hammering: the bar gets hammered to harden it. This helps durability and prevents breakage in later steps.
- Rolling: hammered silver gets rolled into thin sheets or wire, depending on the jewelry type.
- Shaping: you form the piece to match your design.
In the feedback, people consistently mention that the teachers guide them step-by-step and make the equipment feel manageable. Names like Made come up in standout stories for being helpful and patient, including one comment about enjoying the process so much that people considered making something else right away.
If you’re worried you’ll mess it up, relax. The whole class is built around correction. Even if your first attempts are imperfect, you get coached back into a workable result.
From Parts to Piece: Soldering, Sanding, and Polishing
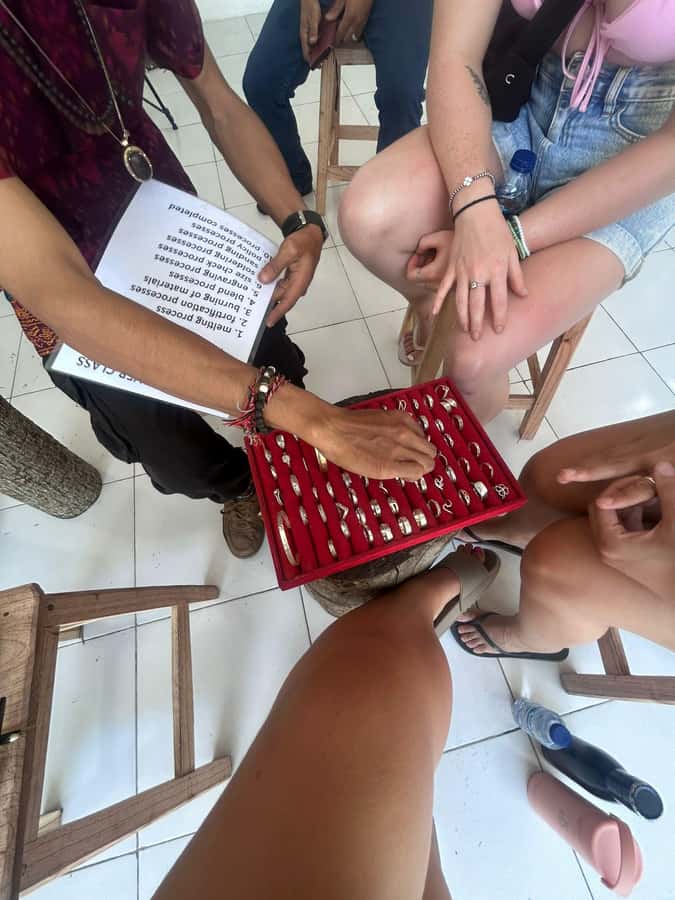
This is where your jewelry stops looking like raw metal experiments and starts looking like actual jewelry.
- Soldering is the “joining” phase. Separate parts get connected using soldering techniques. This step is usually the turning point, because once parts are attached, the shape starts to read as a finished design.
- Sanding smooths rough edges and cleans up connections. It also removes tool marks so the piece looks intentional, not homemade in a messy way.
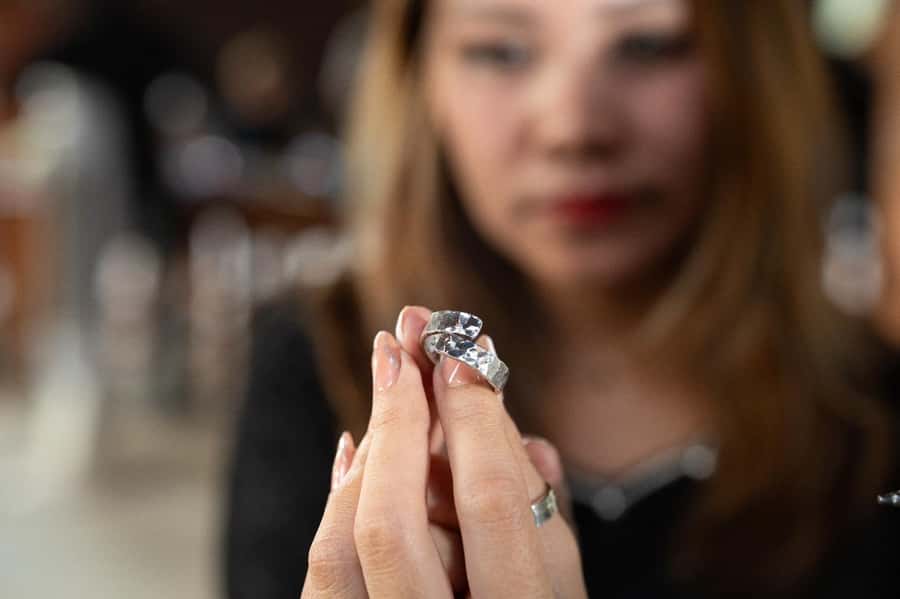
- Polishing gives the refined shine. In the class process, polishing is the final step before you leave with your piece ready to wear.
Some feedback adds extra finishing touches people got during their session, like polishing help on other jewelry. Another comment mentioned an oxidized finish option (the class steps list polish as final, so oxidizing may vary by session). The safe bet: you’ll definitely get the polishing stage included in the process.
The emotional payoff is real here. Several comments describe leaving with rings that look professional, and that’s exactly what you’re buying: a guided path from melted metal to something you’d actually show off.
Design Control Without Design Chaos: One Piece, Smart Choices
This class is built for focused creativity. You can make one jewelry design per person. If you make more than one, you pay an extra 300k IDR per additional design.
You can choose from a wide selection of patterns, which matters because it helps you avoid “blank-page stress.” In the feedback, people point out that the design range is broad enough for different styles, not just one type of ring. And if you want something meaningful, you can bring a design that represents a memory and get help adjusting it to what’s doable in 3 hours.
A smart strategy:
- pick a design that uses a shape you can shape and finish without too many tiny parts
- keep your final size in mind so you don’t drift into more than 5 grams (since that creates extra cost)
- if you’re adding anything like stones, remember that’s an extra charge
Some people also mentioned engraving being possible. Since engraving isn’t listed in the formal step list you’re given, treat that as a “you might be able to” extra feature depending on your workshop and design.
Who This Class Fits Best (and Age Limits to Know)
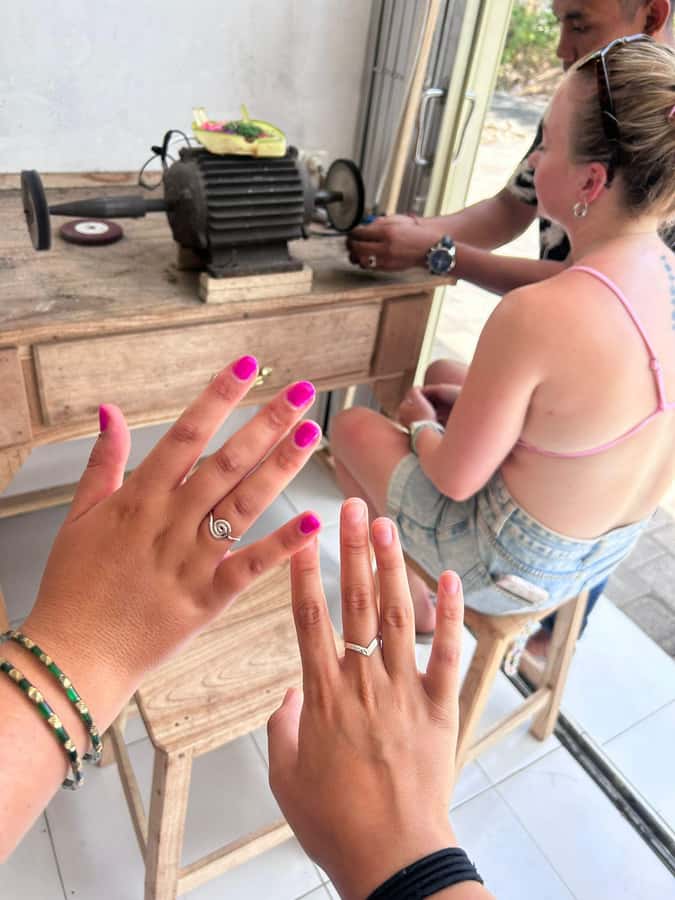
This is ideal if you want a hands-on Bali activity that isn’t just sightseeing. It’s also a great couples or friends class because you can make matching rings or bracelets in the same session.
You’ll be happiest if you:
- like making things with your hands
- enjoy learning processes, not just collecting items
- want a souvenir you’ll actually wear
- are fine choosing from designs and letting the silversmith guide the workable version
It’s not suitable for children under 6 years. The activity also lists people over 70 years as not suitable. Wheelchair access is marked as available, so mobility shouldn’t automatically rule you out—just ask if you have a specific need and confirm your workshop location.
Tips That Make Your Jewelry Look Better (and Keep Costs Under Control)
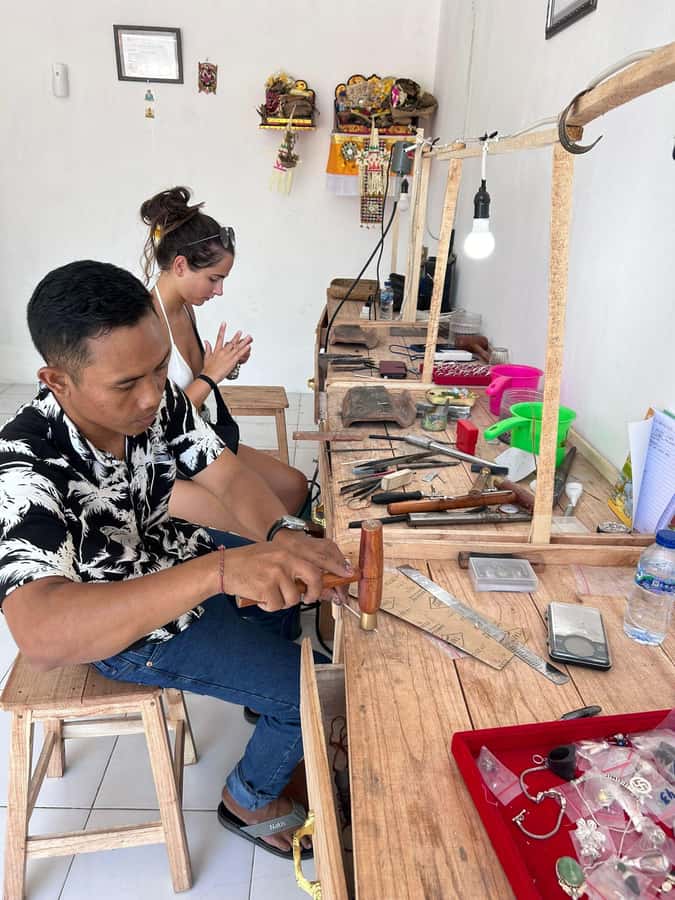
You don’t need experience. You do need a little readiness.
Wear comfortable clothing you don’t mind getting dusty from sanding. You’ll be around metal work, and even if the workshop is neat, this is still crafting. Closed-toe shoes are usually a wise choice in any tool-based activity.
Bring cash for anything beyond the included silver weight. The class explicitly says you should prepare cash for excess silver charges, which is especially important if you go beyond 5 grams.
Finally, keep your expectations grounded in the 3-hour reality:
- you can create something personal
- you likely won’t do a highly intricate, multi-part masterpiece in one session
- if you want a very specific look, show it early and talk feasibility
That’s also why I’d call this a value class. You’re paying for guided results under time pressure, and the coaching is part of the price, not an extra.
Should You Book in Kuta or Uluwatu? My Simple Decision Rule
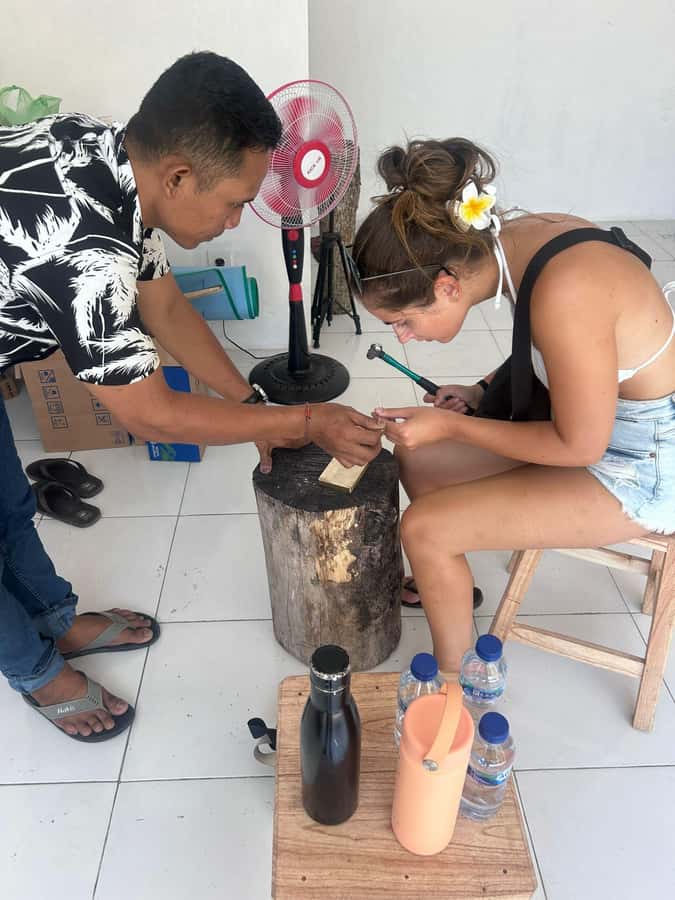
If you’re deciding between the two, I’d use one question:
Where are you already spending your day?
- Choose Kuta if you’re already near Kuta Beach and want an easy schedule.
- Choose Uluwatu if your plans lean toward Garuda Wisnu Kencana and a sunset-style itinerary near the beaches.
Either way, you get the same core process and the same take-home result. Location just affects travel time and how the class fits your day.
Should You Book This Bali Silver Jewelry Class?
Book it if you want a Bali souvenir with real meaning. This is one of those rare activities where the value isn’t only in the final jewelry. It’s in watching your piece grow from melted silver to something polished and wearable.
I’d skip it only if:
- you’re not interested in hands-on work at all
- you want a big stone, heavy custom design, or multiple designs in one session without extra fees
- you’re worried about excess charges and don’t want to plan around the 5-gram included limit
If you go in ready to choose a smart design and trust the silversmith guidance, you’ll come away with jewelry you’ll actually reach for.
FAQ
How long is the Bali silver jewelry making class?
The class lasts about 3 hours.
Where are the workshop locations in Bali?
There are two options: one in Uluwatu (near Garuda Wisnu Kencana and the Kecak Dance & sunset area) and one in Kuta (near Kuta Beach and Beachwalk Shopping Center).
Do I need any prior experience to join?
No prior experience is required. The class is suitable for all skill levels.
What silver and amount are included?
You receive Indonesian silver in the 2 to 5 gram range. If your silver jewelry is less than 5 grams, it is still accounted for as 5 grams.
What extra costs should I know about?
There is an additional fee of 100,000 IDR per gram if your silver jewelry goes over 5 grams. There may also be extra charges for adding gems or stones, and an extra 300k IDR per extra design if you make more than one design.
Can I bring my own design?
Yes. You can bring your own design, but you should discuss feasibility with the silversmiths beforehand to make sure it works within the 3-hour workshop.
Are snacks and water included?
Yes. You’ll get snacks and mineral water as part of the workshop.
Is Wi-Fi included?
Yes, complimentary Wi‑Fi is included.
What languages are the instructors able to use?
Instructors are listed as available in English, Indonesian, and Malay.
Can I cancel and get a full refund?
Yes. Free cancellation is available up to 24 hours in advance for a full refund.
More Bali Workshops and Classes
- Uluwatu: Beginner & Intermediate Surf Lesson with Equipment
★ 4.9 · 832 reviews - Bali: Uluwatu Silver Jewelry Making Workshop with Creation
★ 4.9 · 260 reviews - Uluwatu: Private Surf Lesson with Surf Photos & Videos
★ 4.8 · 75 reviews - Uluwatu : Make Your Own Silver Jewelry Class
★ 4.8 · 71 reviews - Uluwatu: Krisna Silver Class & Workshop
★ 4.6 · 48 reviews
Make Another Silver Piece
- Bali: Uluwatu Silver Jewelry Making Workshop with Creation
★ 4.9 · 260 reviews - Uluwatu : Make Your Own Silver Jewelry Class
★ 4.8 · 71 reviews - Uluwatu: Krisna Silver Class & Workshop
★ 4.6 · 48 reviews
Uluwatu Cliffs, One More Sunset
- Bali: Uluwatu Kecak and Fire Dance Show Entry Ticket
★ 4.2 · 5,189 reviews - Uluwatu: Beginner & Intermediate Surf Lesson with Equipment
★ 4.9 · 832 reviews - Bali: Uluwatu Temple Tour with Optional Kecak Dance Ticket
★ 4.7 · 427 reviews - Uluwatu: Mud ATV Quad Bike Adventure Guided Tour
★ 4.8 · 299 reviews - Bali: Uluwatu Silver Jewelry Making Workshop with Creation
★ 4.9 · 260 reviews
Fresh on the Kuta Travel pages





Uluwatu Temple & Kecak Fire Dance, compared.
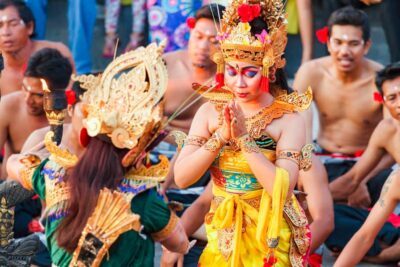 ★ 4.2Uluwatu Kecak and Fire Dance Show Entry TicketFrom $95,189 reviews
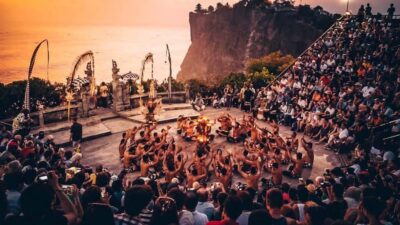 ★ 4.2Kecak Fire Dance Show & Uluwatu Temple Entry TicketFrom $93,023 reviews
 ★ 4.9Uluwatu: Beginner & Intermediate Surf Lesson with EquipmentFrom $36832 reviews
 ★ 5.0Uluwatu Temple Entry and Kecak Fire Dance TicketFrom $29479 reviews
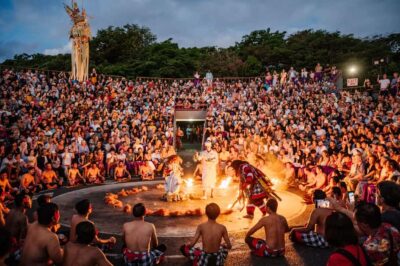 ★ 4.2Skip-the-line Uluwatu Temple and Kecak Fire Dance TourFrom $27466 reviews
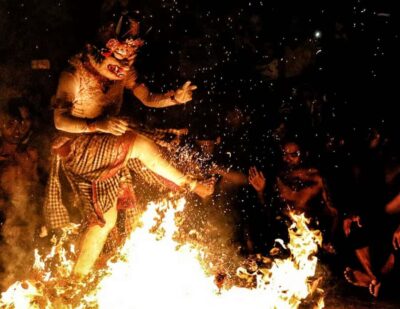 ★ 4.7Uluwatu Temple Tour with Optional Kecak Dance TicketFrom $16427 reviews
 ★ 4.0Kecak Fire Dance Entry Ticket and Uluwatu TempleFrom $9406 reviews
 ★ 5.0Private Tour Bali Beaches and Uluwatu Temple with DinnerFrom $48363 reviews
Browse the lists this tour appears in